
Echelon AudioEchelon Audio
← The eighteenUNIT 07 / 18Master BusAU · VST3 · AAX

APEX

master-bus processor

A mastering-grade master-bus processor — console-style glue, a harmonic enhancer and a true-peak clipper in one chain. Drop it on your 2-bus for width, weight and loudness without the guesswork.

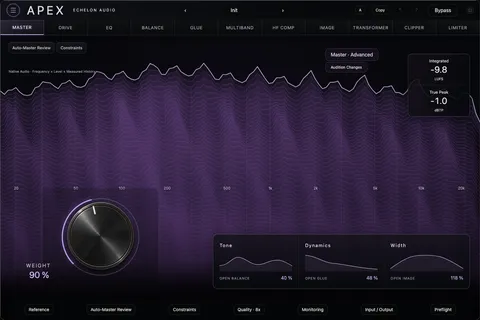
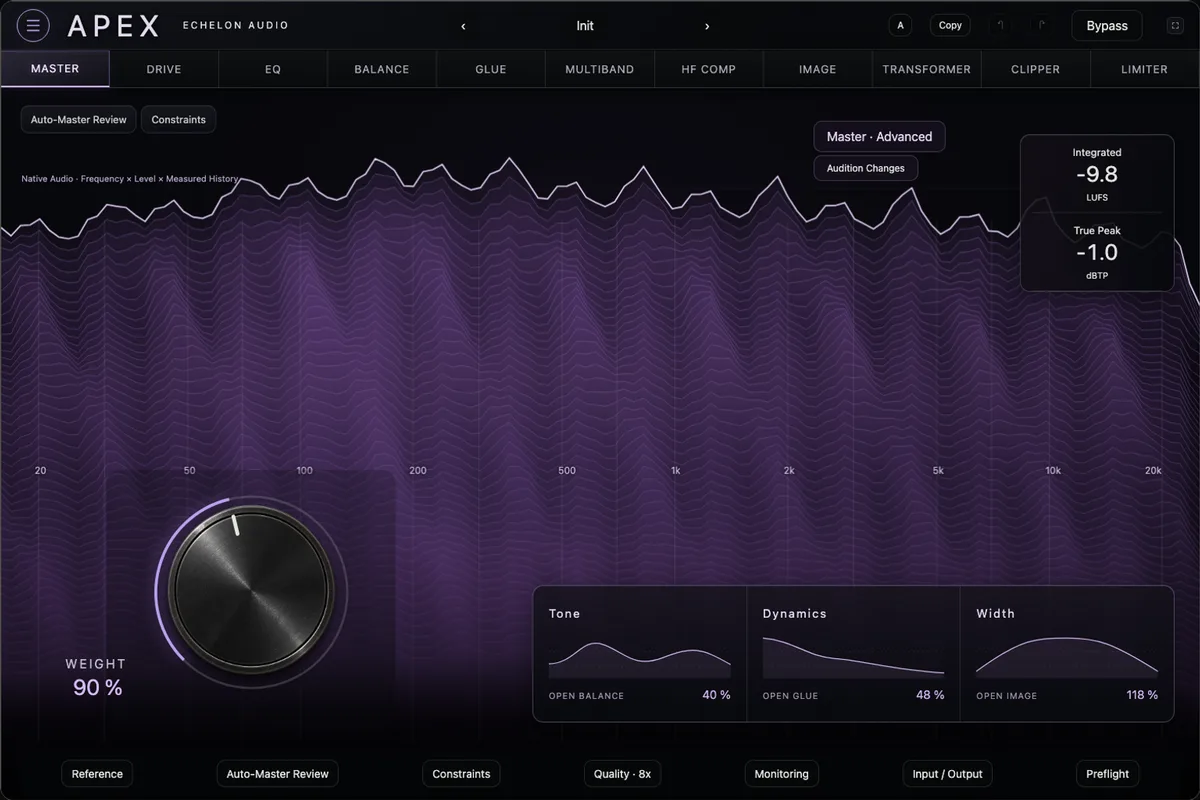
APEX interface
APEX — plugin interface · Closed Beta — Round 1
What's in it
  • 3 stages — glue, enhancer, clipper
  • One-knob WEIGHT macro
  • LUFS + true-peak metering
  • Per-stage visualizers
What we'd love your ears on
  1. WEIGHT on a mix you already finished. One knob, nothing else. If it improves a mix you were already happy with, that's the story we want to tell at launch — and we'd love to hear it in your words.
  2. Push the clipper on a mix with hot 808s. How far can you push before you'd back off? That number is genuinely useful.
  3. Verify the LUFS and true-peak readouts against an independent meter — same ask as Crest, and just as valuable.
  4. Does bypassing Apex leave you level-matched, so you're judging tone and not volume?

Learn APEX

QUICK-START · 7 MIN

Finish a mix on the 2-bus — glue, tone, width and loudness — starting from one knob.

  1. 01

    Start with WEIGHT

    Drop APEX on the master and turn WEIGHT — the one-knob macro drives the whole chain harder (0–200%). On a mix you already like, 30–60% is often the entire move. Or press AUTO-MASTER and let the analyzer set the chain from your mix.

  2. 02

    Glue it

    In the Glue Comp stage, raise COMP for classic bus compression — a 2:1 RATIO with Auto release is the classic setting. Watch the per-stage GR meter; 1–3 dB is glue, more is an effect.

  3. 03

    Shape tone with the Violet EQ

    Use the LOW and HIGH shelves (±9 dB) for broad tilt and AIR for top-end lift. Switch PHASE to Linear if shelving changes the punch of the low end; Zero-Lat for tracking and low CPU.

  4. 04

    Control the image

    Set BASS MONO around 100–150 Hz so the sub stays centred and translation-safe, then use WIDTH (up to 200%) to open the sides. XFORMER adds output-transformer colour if the mix needs analog weight.

  5. 05

    Clip and limit

    In Clip · Limit · Out, raise CLIP to shave 808 and drum peaks with the clipper, PUSH to lean on the limiter, and set CEILING to −1 dB true-peak. Pick QUALITY 4–16× oversampling for the render.

  6. 06

    Verify loudness

    Check the LUFS and true-peak readouts in the loudness suite against your target, and confirm the over indicator stays dark. A/B with bypass — the levels should be close enough that you're judging tone, not volume.

Worth knowing
  • The DRIVE and DENSITY controls in Finish & Drive add vintage console harmonics before everything else — a little goes a long way on an already-dense mix.
  • HF COMP is a dynamic de-harsh for the top end — it only works when the highs get spiky, so it's safer than shelving them down.
  • The Multiband stage's LOW/MID/HIGH amounts with X-LOW / X-HIGH crossovers let you tighten just the low end without touching the vocal range.
Full control reference

Every control, its range, and what it actually does — the complete APEX manual.

Download manual (PDF)All manuals

Activation

iLok (PACE) — machine, iLok Cloud or iLok USB
01

License lands on your iLok

Accepted testers get every Wave-1 plugin deposited to their iLok account — machine activation, iLok Cloud or iLok USB, your call.

02

Open the plugin

Insert APEX in your DAW (AU · VST3 · AAX). First launch asks for activation via iLok License Manager.

03

You're in until August 30, 2026

Beta licenses run through the round. Your license codes and downloads live in the tester portal.

Universal macOS builds — Apple Silicon + Intel

Not in the round yet? Applications are open — we accept in waves.

Apply for the closed beta